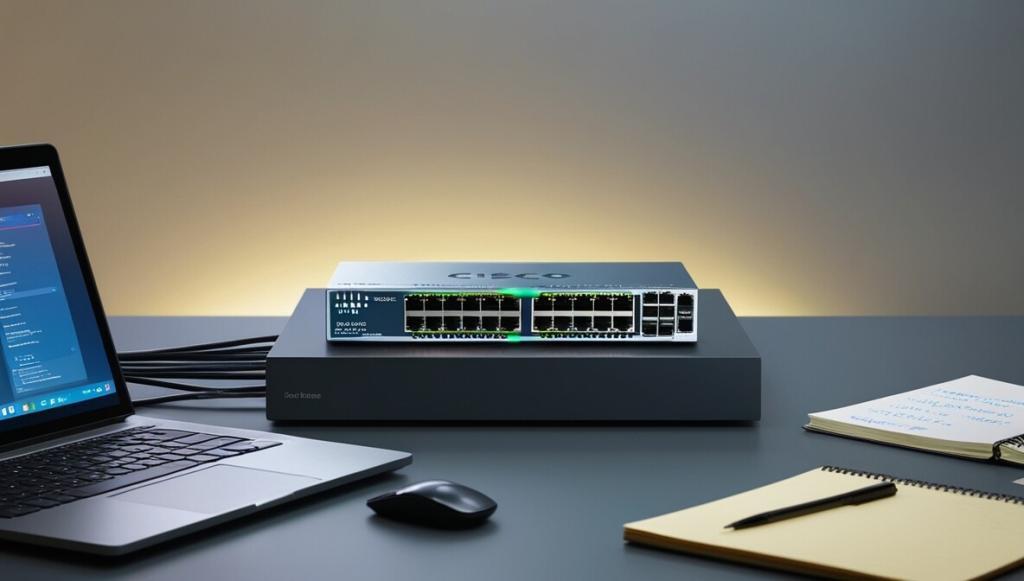
Here’s a straightforward guide for configuring a Cisco Business 250 Series Switch. This process will help you get the switch up and running, enabling you to manage your network efficiently. Learn how to configure the Cisco Business Switch 250 Series effectively.
The Cisco Business 250 Series Switch offers a powerful way to manage your network with robust features designed for small businesses. With a user-friendly interface and versatile configuration options, you can easily control traffic flow, set up VLANs, manage security, and optimize your network’s performance. Below is a step-by-step guide for configuring the Cisco Business Switch 250 Series. Another Cisco network concept with how to configuration on the Cisco Router and Switch.
Step 1: Connect to the Switch
- Plug your computer into one of the Ethernet ports on the switch using an Ethernet cable.
- Make sure your computer and the switch are powered on.
Step 2: Access the Web Interface
- Open a web browser on your computer.
- Enter the default IP address of the switch (usually
192.168.1.254) in the address bar and press Enter to start configuring the Cisco Business Switch 250 Series. - A login page will appear. Enter the default username and password (usually
ciscofor both) to log in.
Note: It’s recommended to change the default password after the first login to enhance security. This will help you securely configure the Cisco Business Switch 250 Series.

Step 3: Configure Basic Settings
- Go to the System menu and select System Settings.
- Set the Device Name, System Contact, and System Location fields as desired for configuring your Cisco Business Switch 250 Series.
- Save these settings.
Step 4: Set Up VLANs (Virtual Local Area Networks)
- Navigate to VLAN Management > VLAN Settings.
- Create a new VLAN by assigning a VLAN ID and Name.
- Assign ports to the VLAN by specifying which ports should be members of each VLAN. This is a key step on how to configure the Cisco Business Switch 250 Series efficiently.
- Save your VLAN settings.
Step 5: Enable and Configure Security Features
- Go to Security and select Port Security to enable security on specific ports.
- Configure the number of MAC addresses allowed per port to restrict unauthorized devices from connecting. This is an essential part of configuring the Cisco Business Switch 250 Series.
- Set up Access Control Lists (ACLs) to control access to different parts of your network.
Step 6: Configure QoS (Quality of Service) Settings
- Go to QoS and select QoS Settings to prioritize traffic.
- Define classes for different types of network traffic, such as voice or video, which may require higher priority.
- Save these settings to ensure smooth traffic flow for essential services.
Step 7: Save and Backup Configuration
- Go to Administration > File Management.
- Select Copy/Save Configuration to save your current configuration.
- It’s recommended to backup the configuration file on an external storage device for easy restoration, ensuring you can re-configure the Cisco Business Switch 250 Series easily if needed.

By following these steps, you’ll have your Cisco Business 250 Series Switch configured and ready to optimize your network. Regularly monitor and update the settings to meet your growing network demands and maintain security. A well-configured switch is the foundation of a stable and efficient network, enabling seamless communication and secure access within your business.
For more network configuration tips, explore other networking guides to enhance your Cisco equipment’s functionality.

