Cisco Packet Tracer is an essential tool for networking students and professionals, offering a virtual environment to design and simulate network topologies. Whether you’re studying for Cisco certifications or practicing real-world networking skills, installing Cisco Packet Tracer on your computer allows you to experiment with network setups, troubleshoot issues, and test configurations without the need for physical equipment. In this guide, we’ll walk you through each step of the installation process to get the Cisco Packet Tracer up and running on your system.
Step 1: Locate the Downloaded File
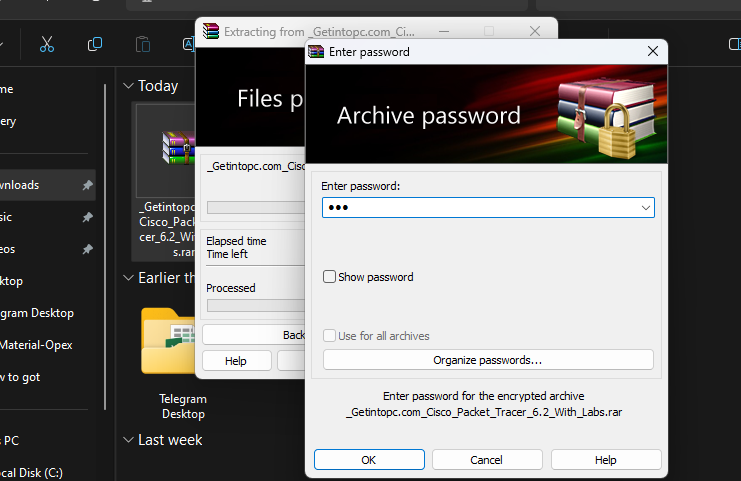
- Open the Downloads folder on your computer (or wherever you saved the Cisco Packet Tracer installation file).
- Find the Cisco Packet Tracer installer file, which typically has a
.exeextension on Windows or.dmgfor macOS. And enter password: 123, if you download this file from a website getintopc.
Step 2: Start the Installation
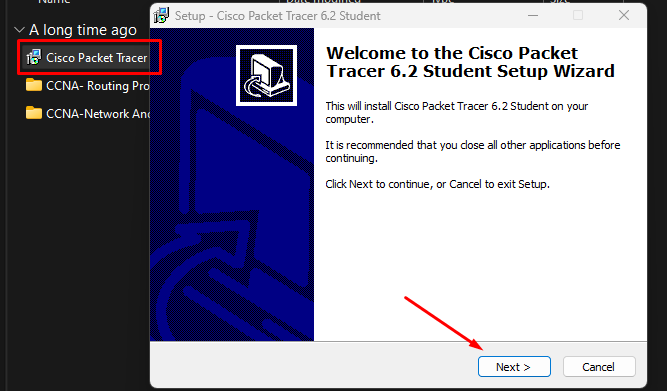
- Double-click the installer file to start the installation process. If prompted, confirm that you want to allow the installer to make changes to your system.
- Select your preferred installation language if prompted, and click OK.
Step 3: Accept the License Agreement
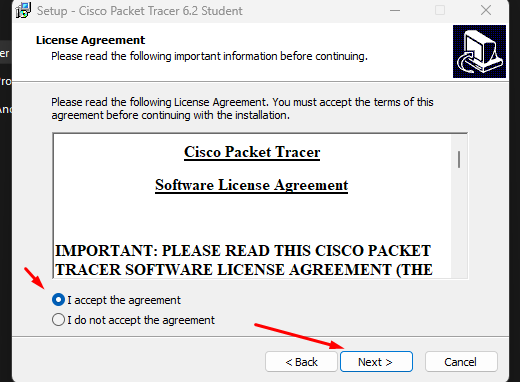
- Read the Cisco Packet Tracer License Agreement carefully. You must accept the terms to proceed with the installation.
- Click I Agree to continue.
Step 4: Choose the Installation Location
- By default, the installer selects a location for the software. You can choose a different folder if you prefer by clicking Browse.
- Once the installation location is set, click Next.
Step 5: Select Start Menu Folder (Windows Only)
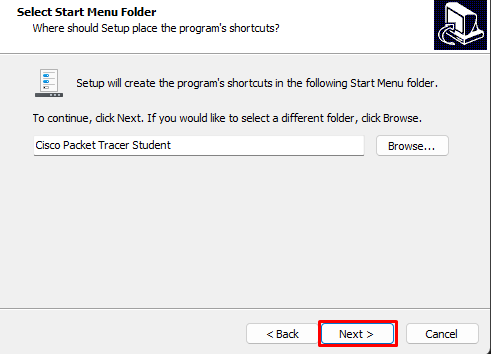
- On Windows, you may be asked to choose a Start Menu folder where shortcuts will be created. The default option is usually fine, so you can click Next.
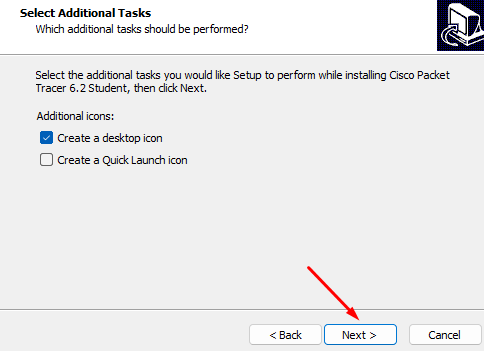
Step 6: Additional Installation Options
- Some versions may ask if you want to create a Desktop shortcut. Check this option if you’d like quick access to Cisco Packet Tracer from your desktop.
- Click Next to confirm these options.
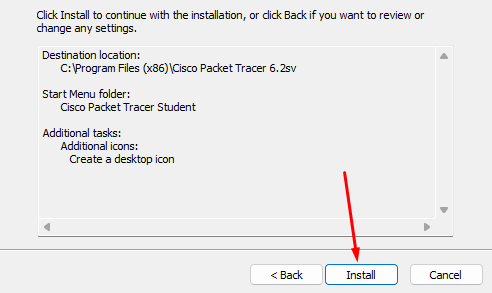
Step 7: Install the Software
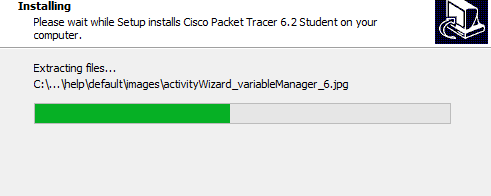
- Now, click the Install button to begin the installation. It may take a few minutes for all files to be copied and set up.
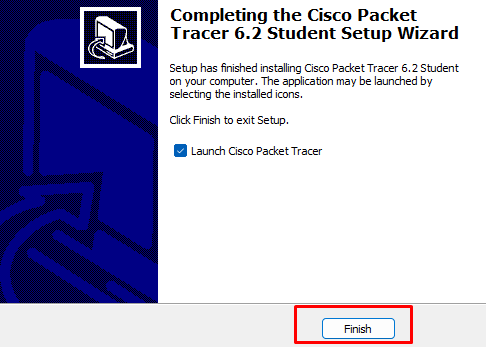
- Once installation is complete, click Finish to close the installer.
Step 8: Launch Cisco Packet Tracer
- You can now open Cisco Packet Tracer from the desktop shortcut or by finding it in your Start Menu (Windows) or Applications folder (macOS).
- On first launch, you may be prompted to sign in with your Cisco Networking Academy credentials or continue as a guest if available.
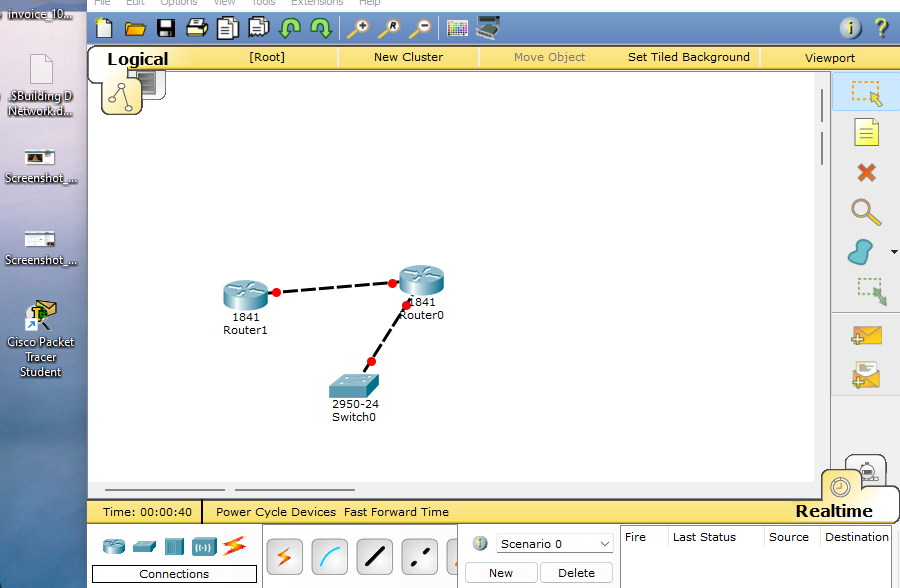
Optional: Sign in to Cisco Networking Academy
To access all features and save work, it’s recommended to log in with a Cisco Networking Academy account if you have one.
Troubleshooting Tips
- Ensure your system meets the minimum requirements for Cisco Packet Tracer.
- Run the installer as an administrator if you encounter permission issues.
Your Cisco Packet Tracer should now be ready for use! Let me know if you encounter any issues during installation. If you don’t have the Cisco Packet Tracer can Download it here for free.
Installing Cisco Packet Tracer is straightforward and opens up a world of possibilities for anyone interested in networking. By following these steps, you can begin building and testing network designs, gaining hands-on experience that can be invaluable in both academic and professional settings. Now that it’s installed, start exploring the extensive features of Cisco Packet Tracer to enhance your networking knowledge and skills. Happy learning, and let us know if you encounter any challenges!

